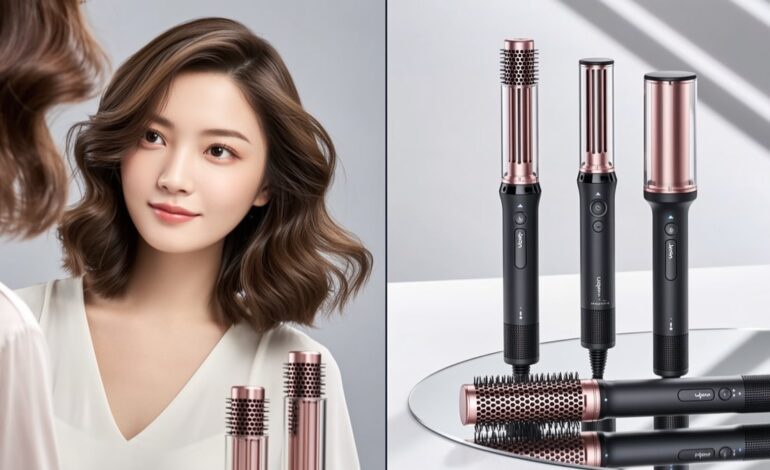
How I Mastered the Dyson AirWrap: Game-Changing Curls That Last All Day

Elena West here—your guide to unlocking life’s little victories, one breakthrough at a time. If you’ve ever looked at your Dyson AirWrap and wondered why it wasn’t giving you those glossy, salon-worthy curls you dreamed of, this is your moment. Today, we’re diving into the exact products and techniques that transformed my straight hair into bouncy, camera-ready waves that hold strong from sunrise to sunset.
Let me tell you—it all starts with strategy. When I first got my Dyson AirWrap, I was ready to toss it aside. My curls fell flat in minutes, my hair frizzed up like cotton candy, and honestly? It took longer than my old curling iron. But there was something magical about that first post-AirWrap blowout—it looked like I’d just walked out of a high-end studio shoot. So I dug deeper. I talked to the Dyson team. I tested products. And now? Now I’m obsessed.
Here’s the secret sauce: start while your hair is still slightly damp. This isn’t just a tip—it’s a game-changer. Damp hair allows the AirWrap to mold the curl as it dries, locking in shape and structure. Let the tool grab your hair from the ends and work its way up. Don’t rush it. Use the cool shot setting, then turn off the machine before releasing each curl. That extra pause makes all the difference.
Now, let’s talk prep. After stepping out of the shower, I mist my wet hair with a leave-in conditioner. Ouai’s formula is a favorite—not only does it smell divine, but it detangles like magic. Then I layer in Amika’s detangler and heat protectant for added defense against damage. These two products are non-negotiable if you want smooth, protected strands that can handle the heat.
Next step? Rough-dry your hair until it’s no longer dripping. Then, apply mousse—L’Oréal’s version is my go-to. Work it into both your roots for volume and your ends for body. This step is crucial for lasting curls. Just be careful not to overdo it; too much mousse equals crunch city.
Time to style. Section your hair, and curl small pieces at a time. Smaller sections mean tighter, more defined curls that hold better. Pull the barrel taut as you wrap—this tension is what gives you that polished finish. As you curl, don’t skip the hairspray. Garnier’s firm-hold formula keeps everything locked in place without that dreaded stiff look.
Once you’re done, run a taming wand over the top layers to smooth any flyaways. Frizz? Gone. Shine? Maximized. Volume? Through the roof.
So whether you’re getting ready for a red carpet event or just want to feel fabulous on a Tuesday, this method will change your hair game forever. The key takeaway? It’s not just about the tool—it’s about how you use it. Combine the right technique with the right products, and you’ll never look back.
Now take what you’ve learned and make something great happen!
Sources: Celebrity Storm and E! News
Generated by AI


